
I’m proudly sharing what I went through and what I now know about doing my nails at home.
Let me start by saying that I’ll never go back to getting my nails done professionally. I’m now better than what I was once getting at a nail salon. The word “master” may be reaching a bit. However, I’m confident that I am better than what I was previously paying for.
When you get your nails done do you ever notice the imperfections? Or perhaps complain about how hard they filed your nails? Maybe you just can’t stand how expensive it is.
Ultimately, I was tired of the expense.
I’m not going to tell you that when you begin to do your own nails that it’s going to be easy.
It’s going to look messy, probably take way longer than two hours, and pop off in less than a week. Let’s not even talk about the back pain. However, the accomplishment you will feel after you are done will be something indescribable.
As you start on your journey of doing your own nails at home, remember that this is something new that is going to take time to get perfect.
This will not be easy but the satisfaction of the completion of a new set and telling people it was you who did your nails instead of a salon will outweigh he hardship you went through to get to the end result.
The Investment To Get Started With Your Nails At Home
Unfortunately, as with most things we decide to start doing ourselves to save some cash, there are going to be some small investments you need to make. However, the cost of all of these items will most likely be less than one trip to the salon.
When I first began to do my nails, TikTok was my teacher. I started buying items based on creators’ reviews and discovering what worked best for me. There were a few fails on some items. The items I’m sharing with you are after doing my own nails hundreds of times.
Nail Drill
This was the first nail drill I came across on Amazon and it had amazing best reviews. (Thank you Amazon reviewers for being honest!)
I had no idea what drill to originally pick, but I’m so glad I landed on this one.
I still use it to this day. The drill is easy to store and pretty compact. It’s probably not the best one you could find, but it is lightweight and comes with a lot of drill tips that are easy for beginners.

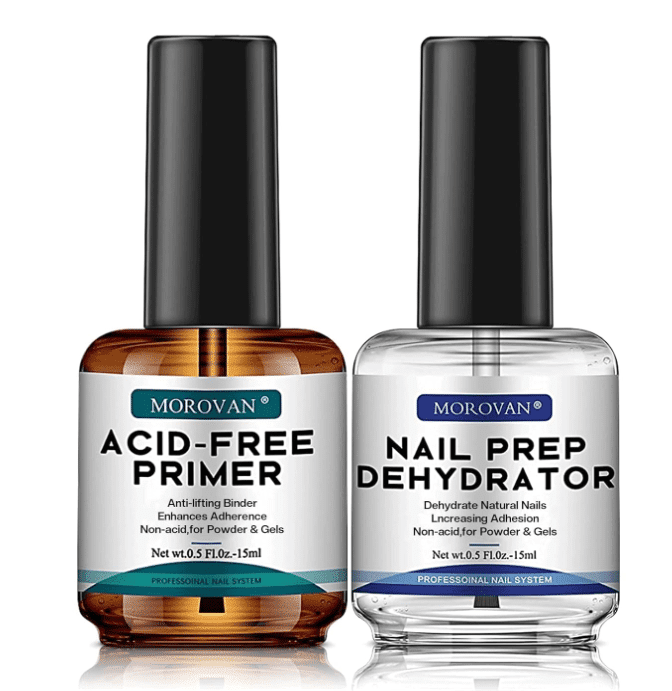
Nail Dehydrator And Primer
The ultimate power couple for your DIY nails at home.
Without them, my nails would pop off all the time. The primer smells horrible, so if strong smells bother you, I would grab a different acid-free primer.
If the smell isn’t a bother, open a window or turn a fan and grab these gems.
Glue
You’re going to obviously need glue.
This one is great for beginners and people with more brittle nails, which I have.

The Nails
These nails come in all sizes and are easier to shape for beginners.
When purchasing, remember that later you can always shorten but you can’t lengthen the nails. Because of this, I always purchase a little longer than what I know I’ll want.

Nail Starter Kit
For the smaller accessories that you will want, I suggest purchasing a kit with all of it in there.
Some of this you may already own. I had nothing other than an old file so this was needed in my case.

Nail Clippers
This keeps the stress out of making sure every nail is the same length.
It’s cheap and I consider it a must have.

Nail Lamps
Yes, I do use both of these lamps for my nails at home.
Luckily, they are cheap!


Acetone
You can find this at your local Walgreens or other drug store, but here’s a link if you’re already ordering your other supplies through Amazon.

Nail Design Inspiration
If you need inspiration, this book has super cute and easy nail designs for someone first starting out.
I also love searching up designs on Pinterest, however they do share some pretty complicated works of art.

Creating Your First Set of Nails At Home
Now that you have purchased most, or all, of the required materials, now it’s time for the fun!

Nail Prep
- File the inside of the fake nails with the nail drill. If you don’t do this step, they are more likely to “slip” off of the glue.
- Next, file around the nail edges to make an equal surface.
- Clean your nails off with acetone. This gets rid of the previous nail polish you used as well as dehydrate your nail. Quick Tip: I don’t recommend washing your nails before (even though it seems gross not to) because it hydrates your nails which is the opposite of what we need to do.
- Prep your cuticle. Usually I push mine back, but you could use the clips in the kit above as well.
- Buff and file. Don’t be afraid to go crazy with buffing. The key here is not to buff so much that you create a smooth nail surface. You want the scratches!
- Use the nail dehydrator.
- Finally for the nail prep stage, apply the nail primer and let it dry completely. Make sure it’s only a thin layer, as if you apply too much it’ll never dry.
Nail Application
- Apply a thin layer of nail glue onto your nail and flash cure. This means you leave the nail under the nail light for only about five seconds.
- Apply a bead of nail glue onto the pre-filed fake nails and press them onto your natural nails.
- Cure completely under the nail lamp or until the lamp automatically shuts off.
- Optional: If you have a bigger lamp, cure again after curing once under the regular nail lamp.
Nail Perfecting
- Cut the fake nail to the desired length.
- File with the drill. If you want more control, use a nail file instead.
- Design your nail!
Some Encouragement
This would be the time to find your most encouraging friends for feedback, not your brutally honest ones.
Looking back, my first nails at home were horrible in the beginning! But somehow, I kept pushing myself and I got a little better each and every time.
I suggest taking progression photos to keep track of your improvements and help you stay motivated. Sometimes I can scroll back to see my first few nail attempts and that makes me feel more confident in my present creations.
Remember that this is something new to you that people are professionally trained to do.
If you master this, you could consider turning it into a hobby that earns you side cash.
Congratulations to you on your new journey!
0 Comments